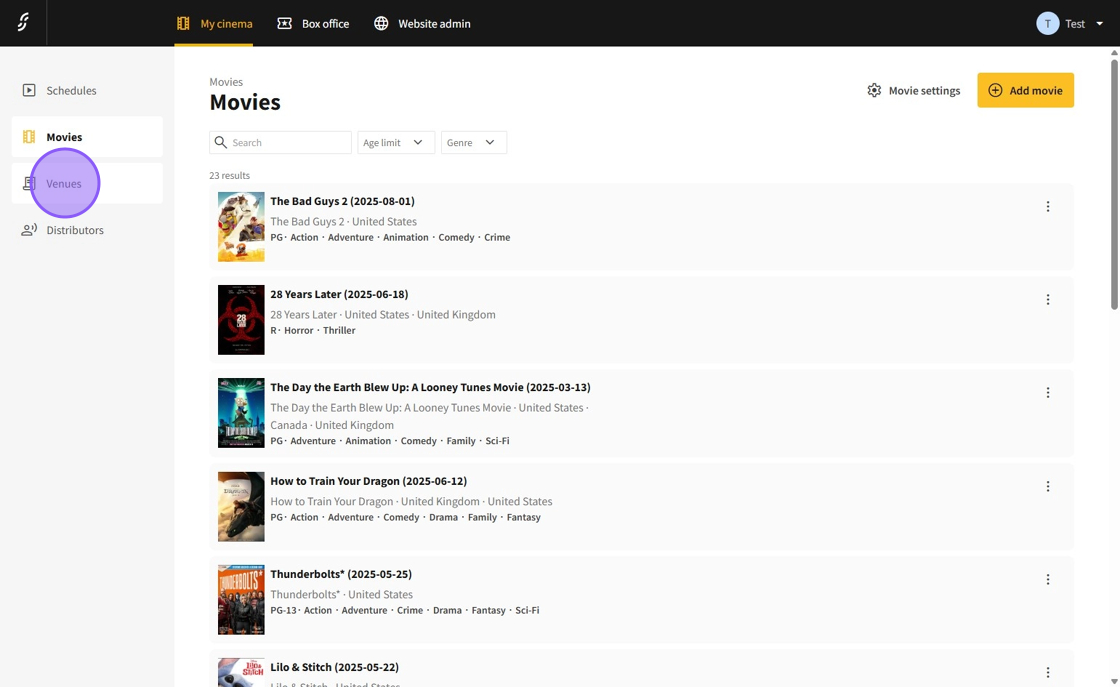
1.In the Dashboard, navigate to My cinema or My theater.
2.Select Venues.
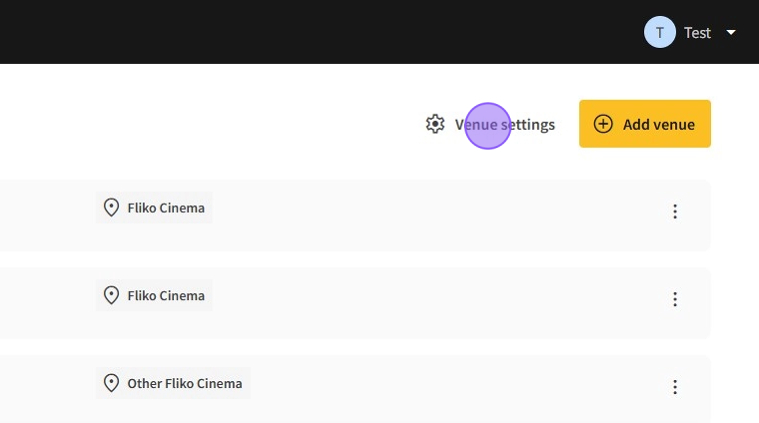
3.On the Venue page, you can either edit an existing venue or create a new one. To create a new venue, click Add venue.
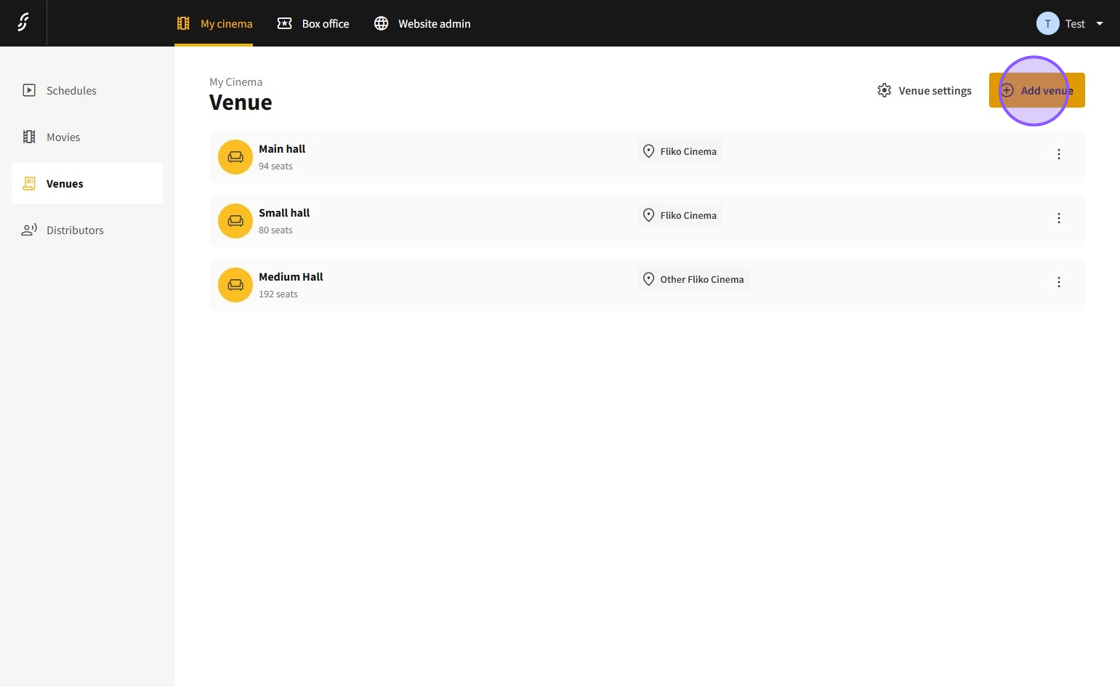
4.On the venue creation page, set the following:
Hall name
Details (part of the name displayed and printed)
Description
Related venue (for halls used with multiple setups to avoid showtime collisions)
Location (cannot be changed after creation)
Enable or disable the venue
Specify if it is a seated hall with a plan or an unseated hall relying only on ticket numbers
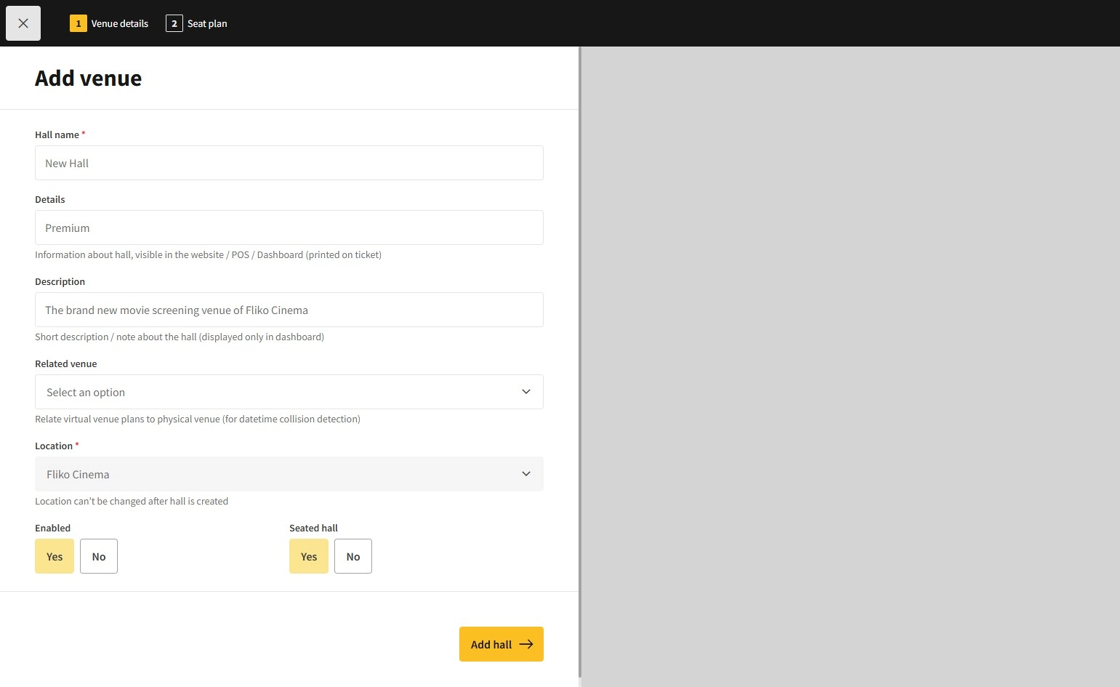
5.After filling in the details, click Add hall to create the new hall.
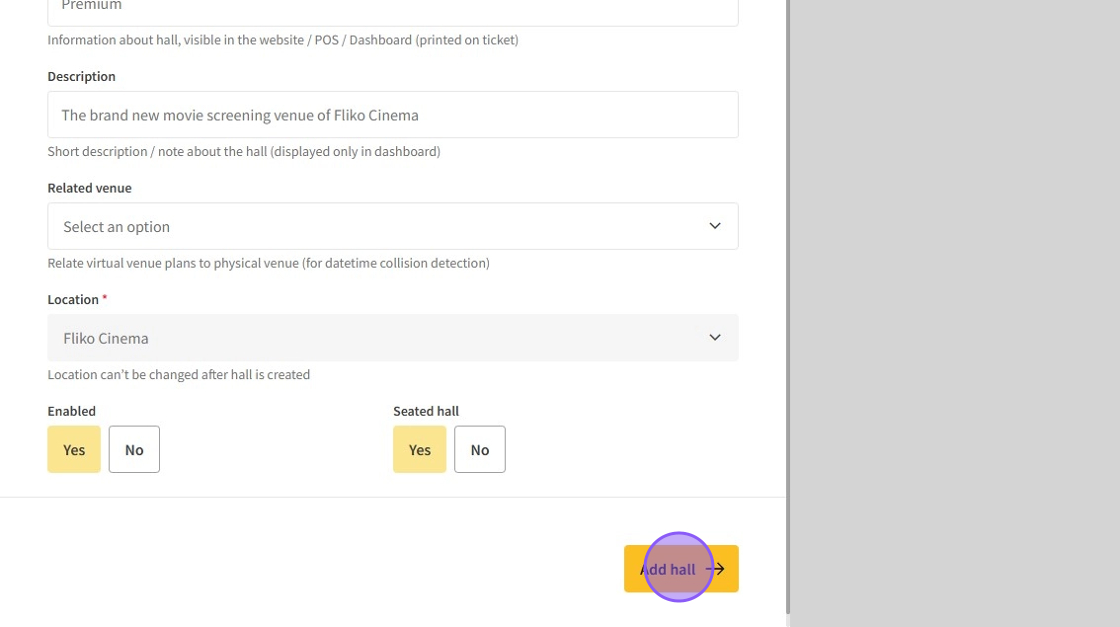
6.You will be redirected to the new hall’s plan creator.
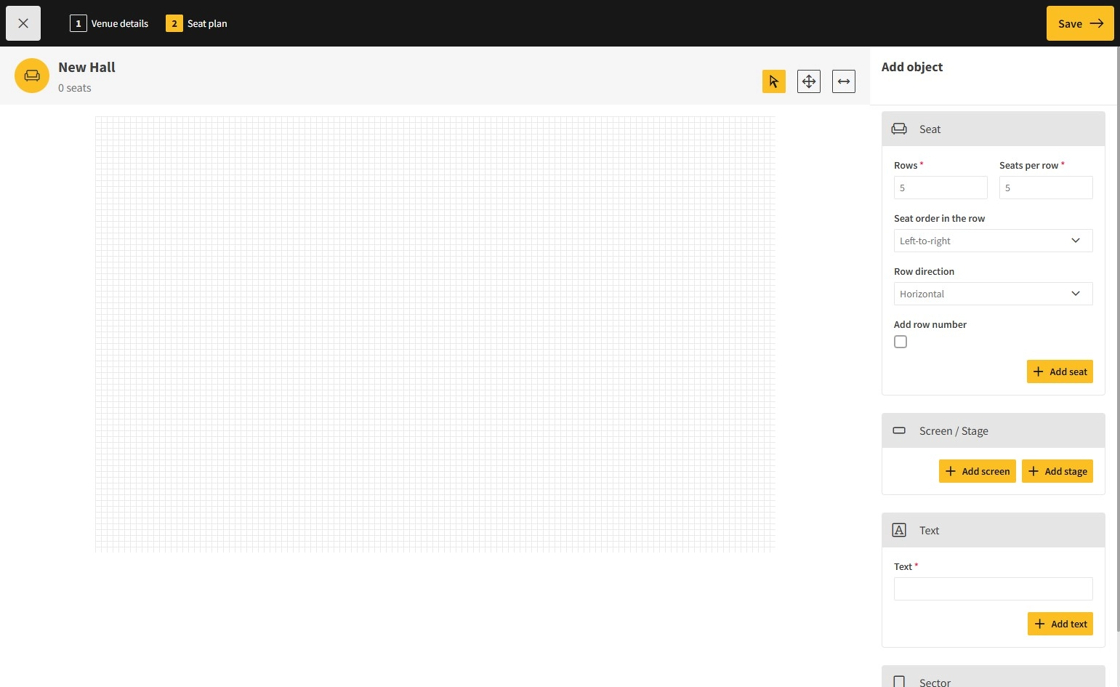
7.On the right side, use the tabs to add different objects. In the Seat section, you can add seat sets by:
Inputting the row count and seat count per row
Setting seat order (left to right or right to left)
Setting row direction (horizontal or vertical)
Enabling number text objects to display row numbers
Setting row number order (lowest to highest or vice versa)
Setting the starting number for row numbering
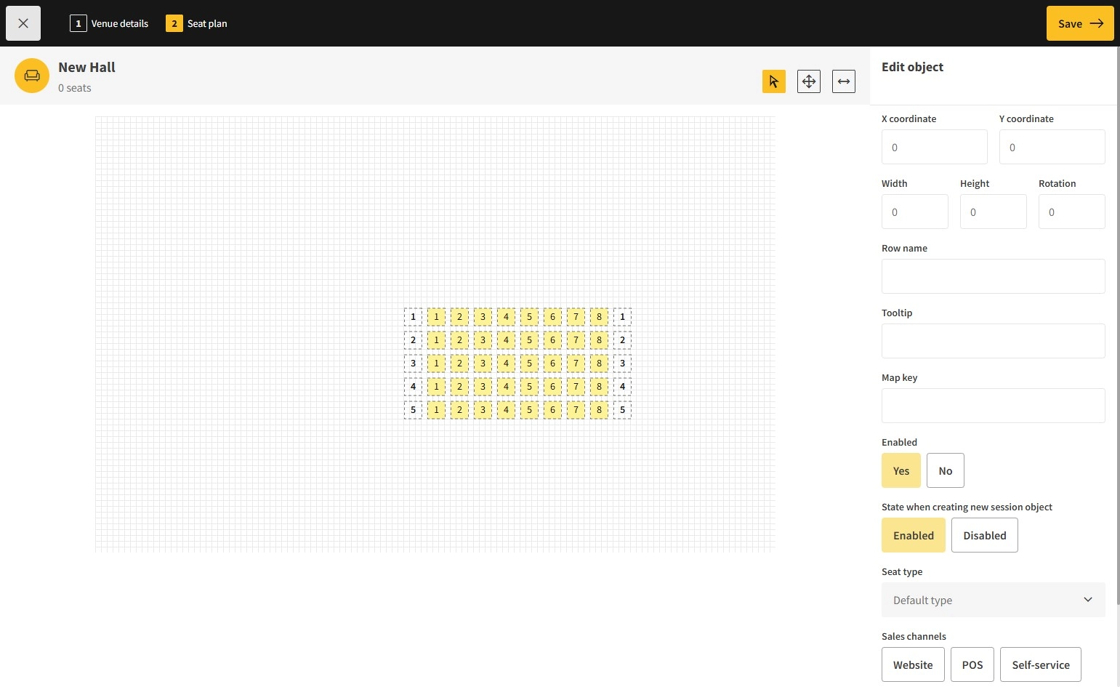
Click Add seat to place the seat group inside the plan.

8.Drag-select venue objects and drag-and-drop them inside the plan.
9.To deselect objects, click on free space.

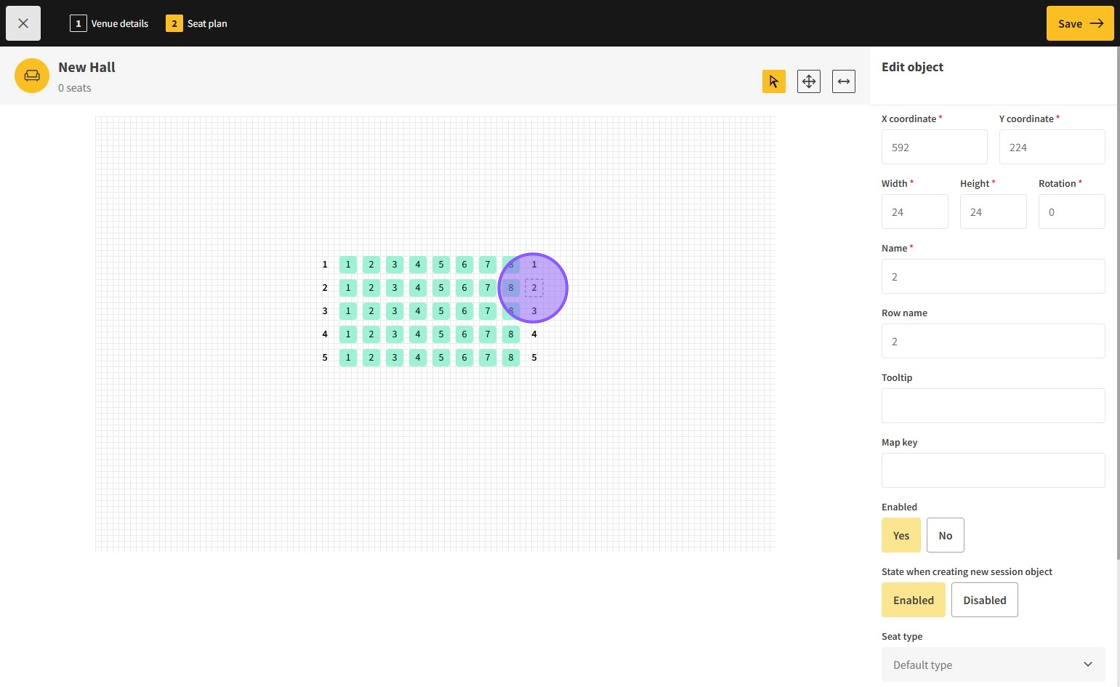
10.Select single objects by left-clicking; select multiple objects by Ctrl-clicking.
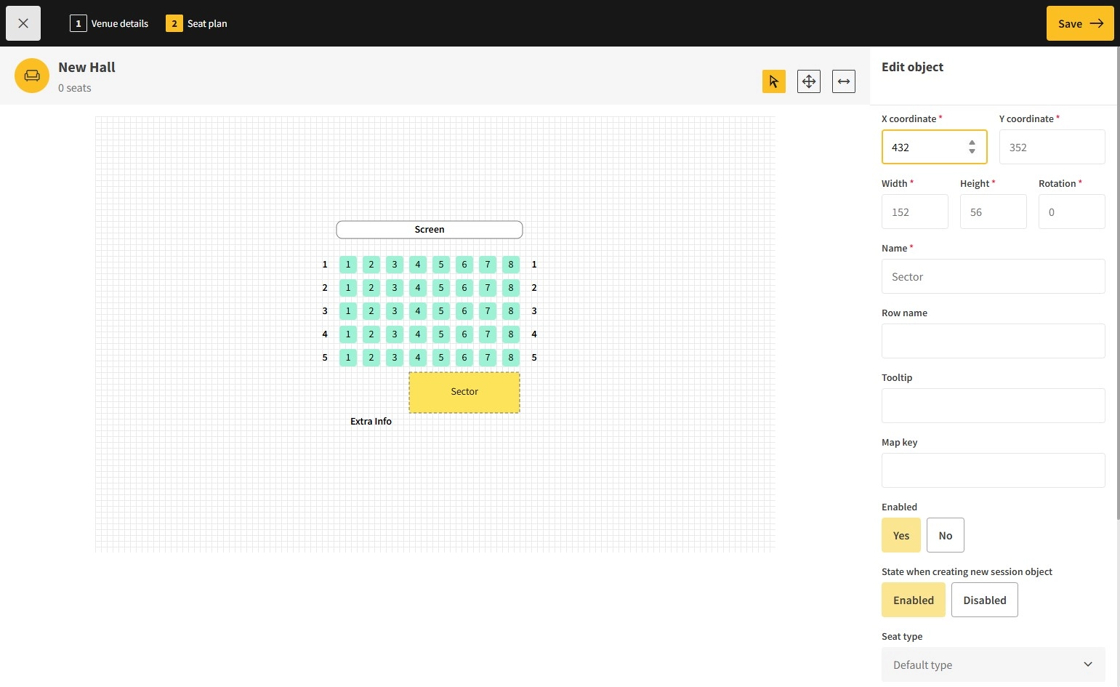
All objects have details such as coordinates, width, height, rotation, name, tooltip, enabled status, and sales channels.
Use the movement and rotation tool buttons (left of the top sidebar) to adjust positioning and rotation.

11.Seats have unique features like setting seat types. Seats and some other objects can have row names and map keys.

12.New seat types can be added in Venue settings on the Venue page.
13.Text objects are created with seats if enabled, displaying corresponding row names.
You can set a map key on text objects and seats to allow POS operators to select a text object and automatically select all seats with the same map key (commonly used for rows).
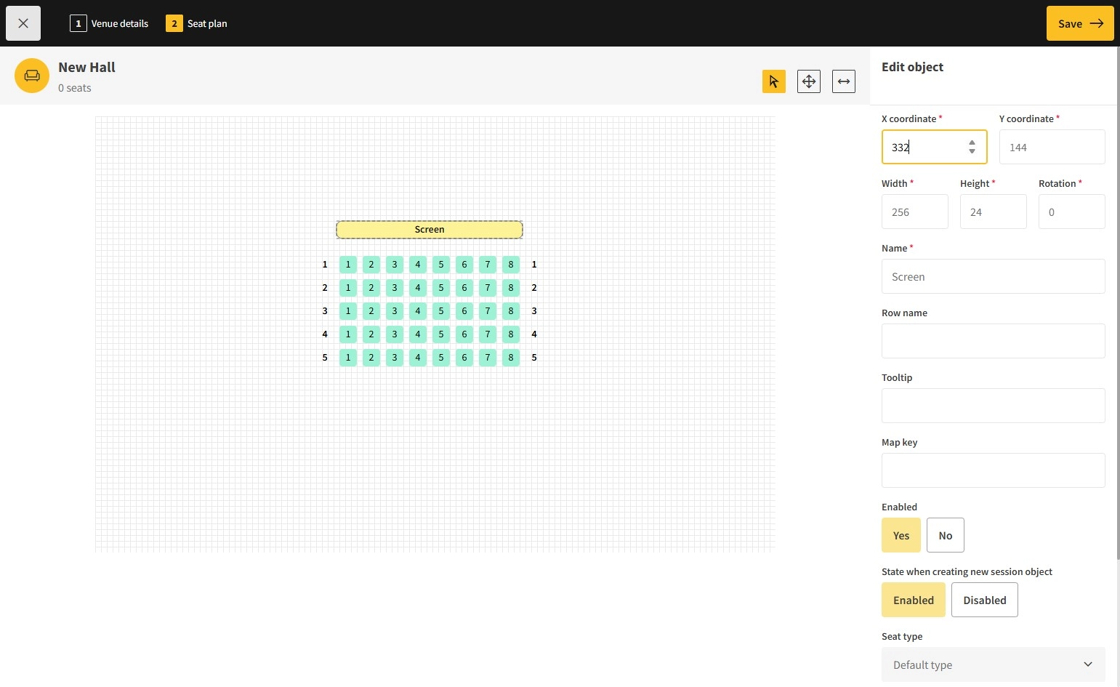
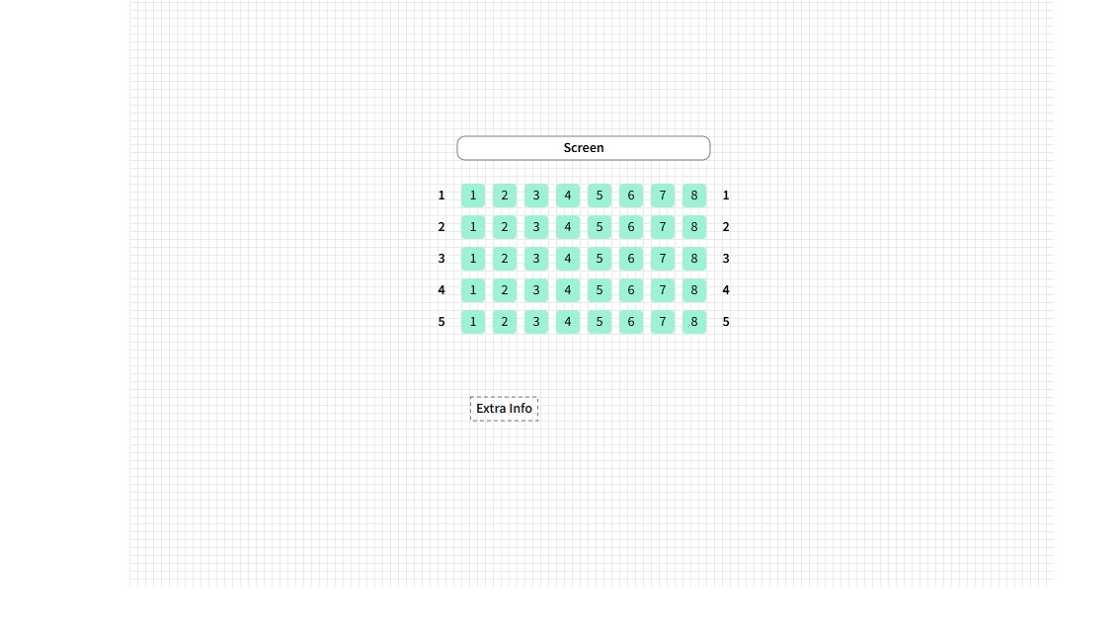
14.Below seats in the new object selection sidebar, you can add Screens and Stages.
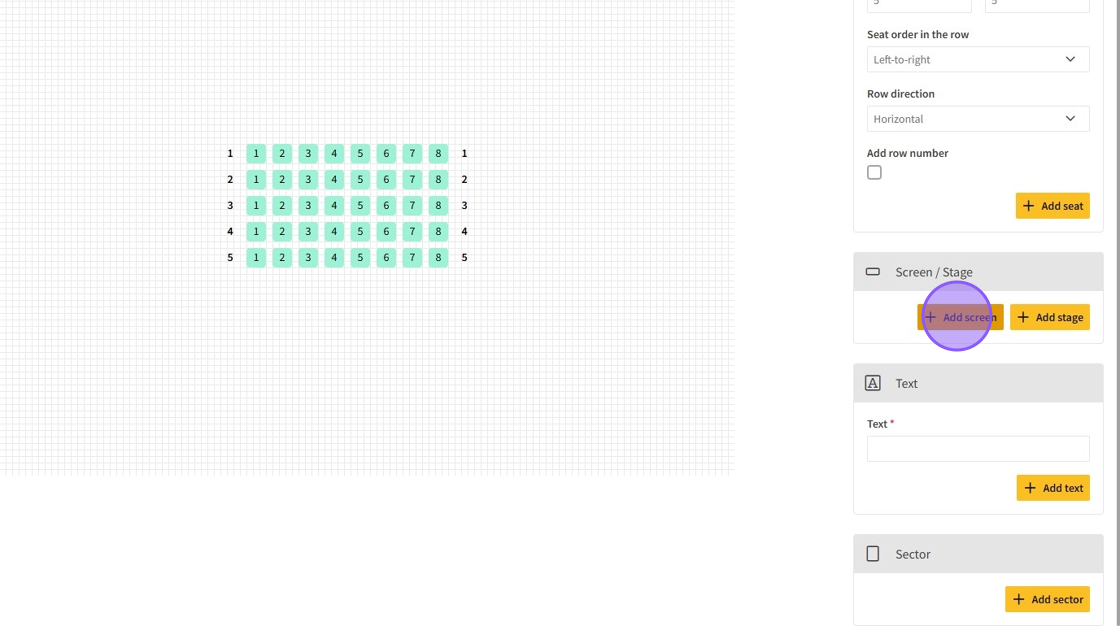
15.Screens and Stages are visual only, showing customers the location of screens/stages to help them understand seat locations.
16.You can add individual text objects below the seats and screens/stages in the new object selection sidebar.
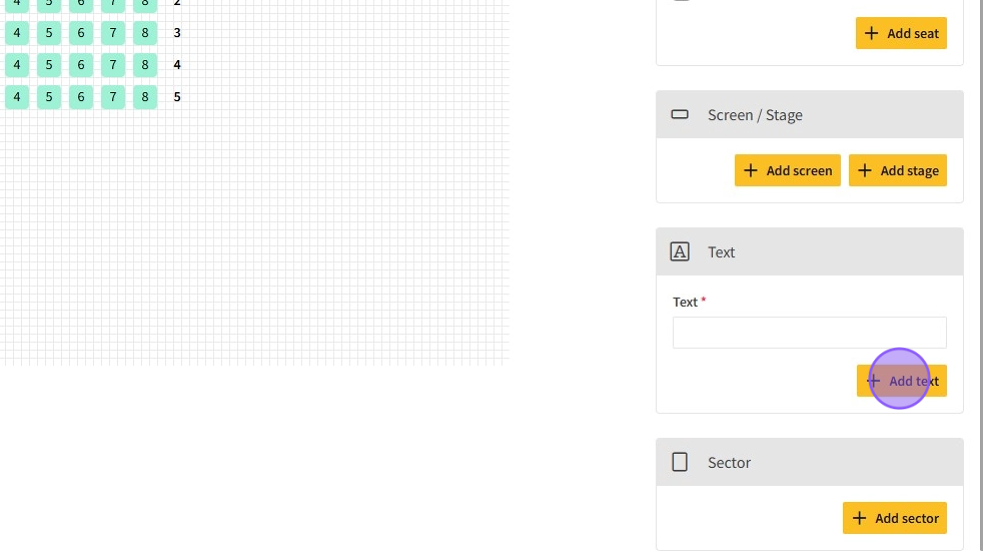
17.Use text objects to display any additional information for customers.
18.At the bottom of the new object selection sidebar, there are Sectors.
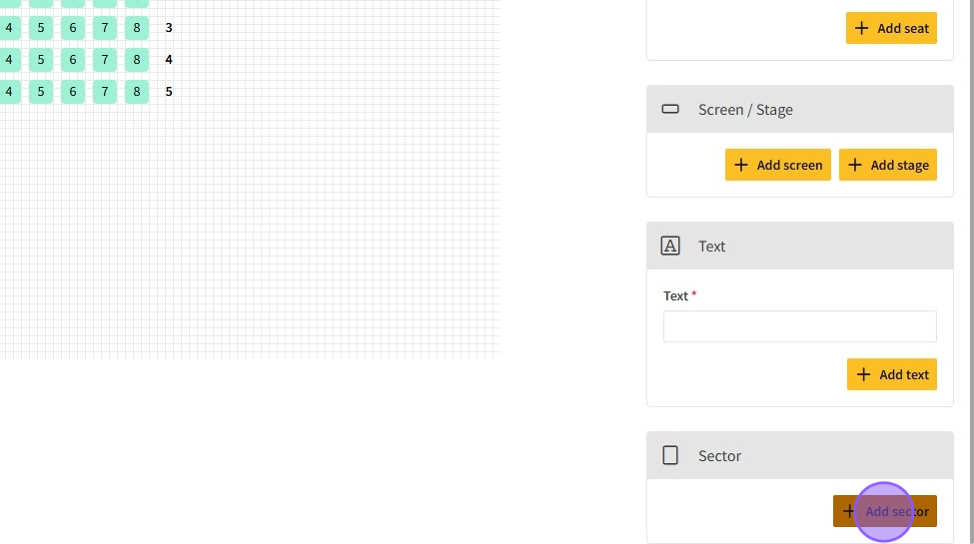
19.Sectors are large objects used as an extra layer within venues, acting like mini venues inside venues.
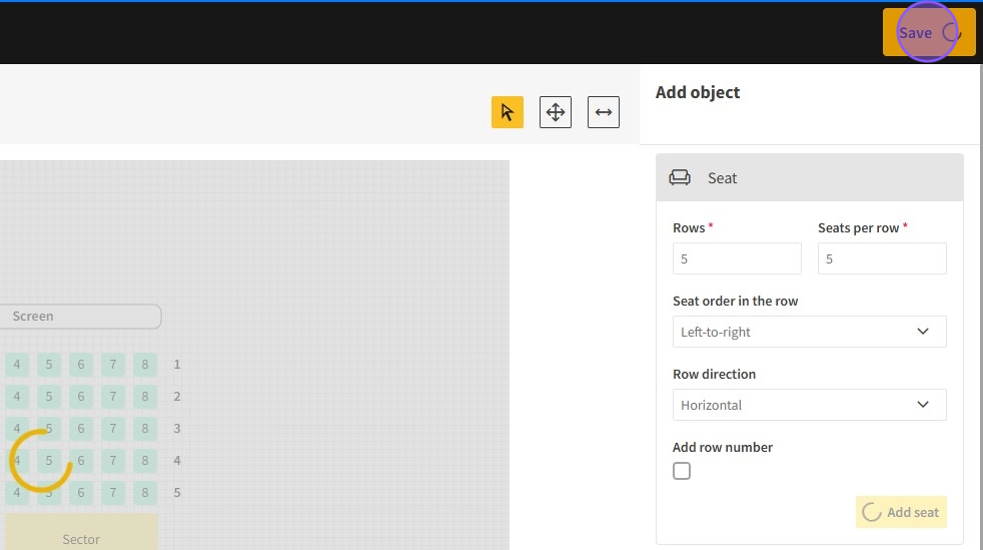
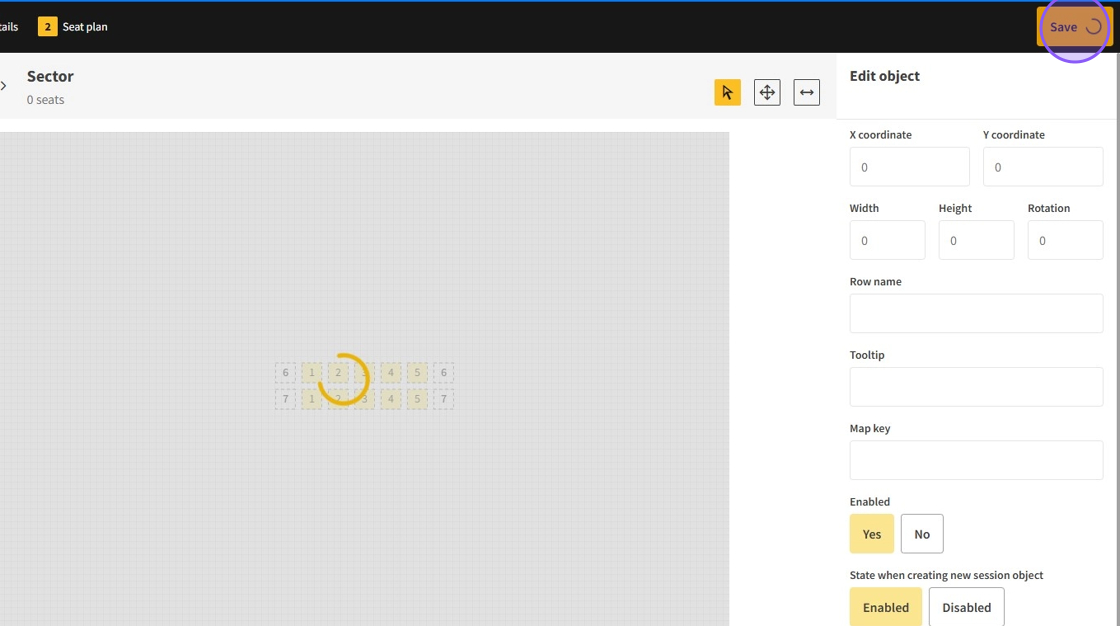
20.To open a sector’s contents, first save the current plan.
21.Save the current plan by clicking the Save button at the top right.
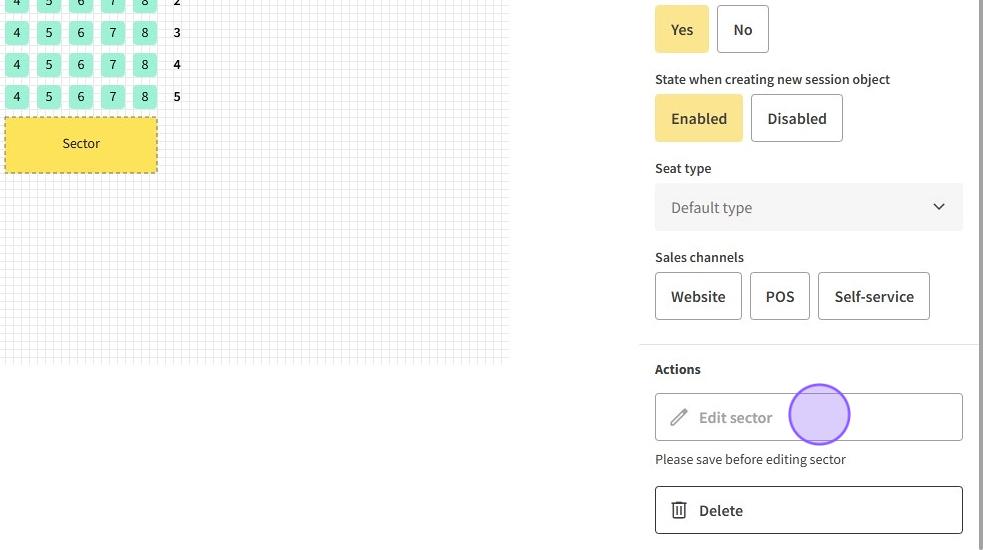
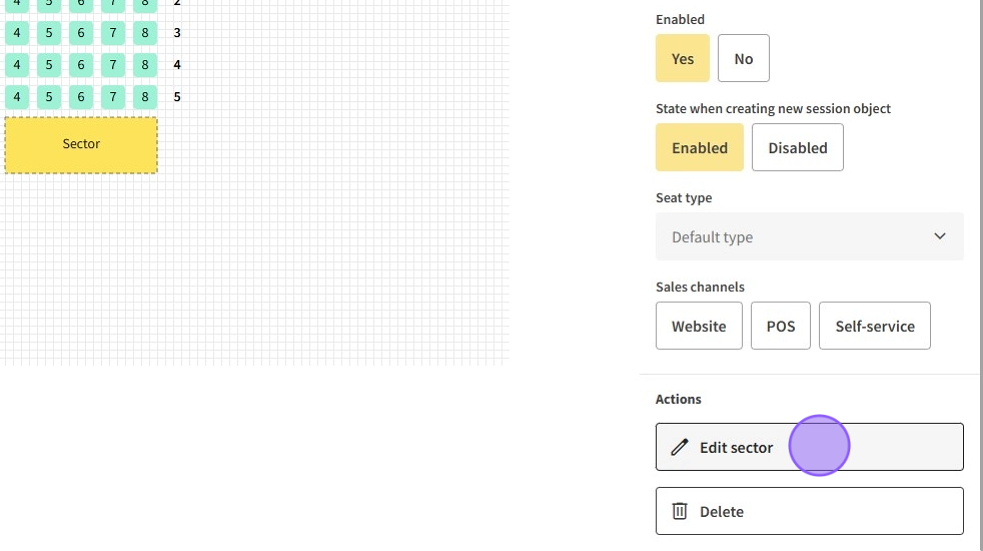
22.After saving, open a sector by selecting it and clicking Edit sector.
23.The sector will initially be empty, like a new venue.
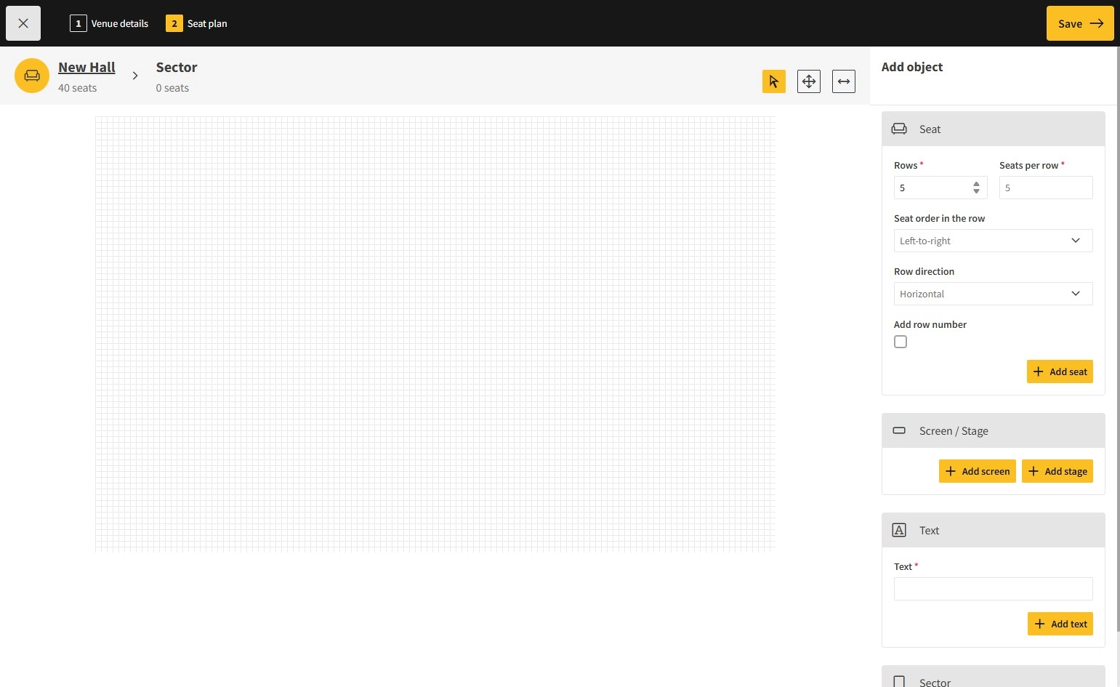
24.Add objects inside the sector as needed.

25.Save sector changes by clicking Save.
26.Return to previous layers by clicking on the plan parts at the top left where seat counts are displayed.
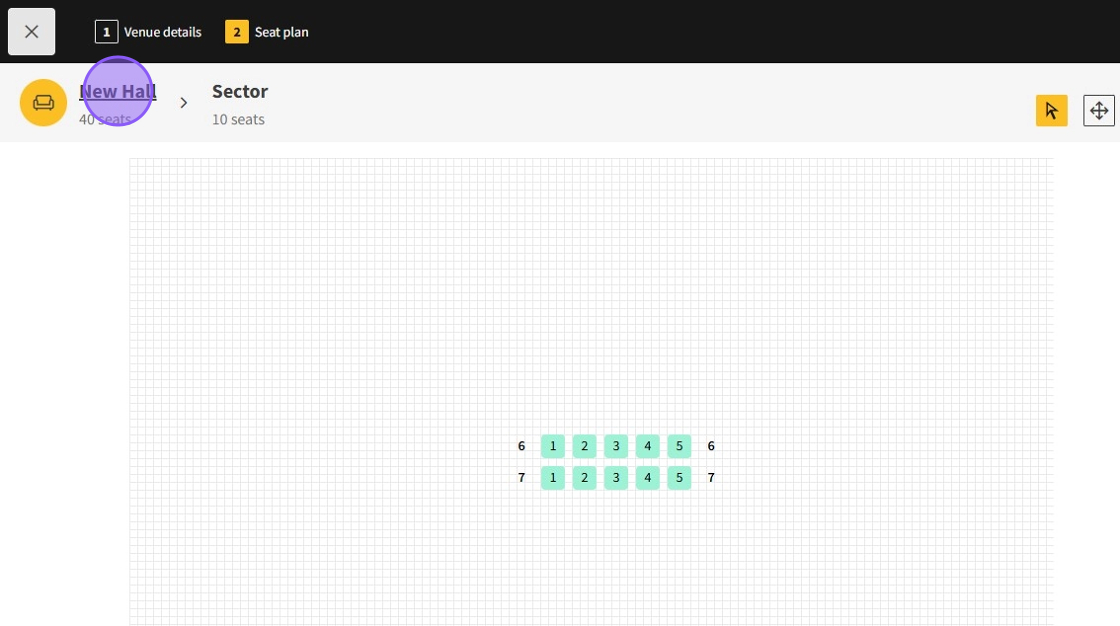
27.The sector object will now display its seat count.
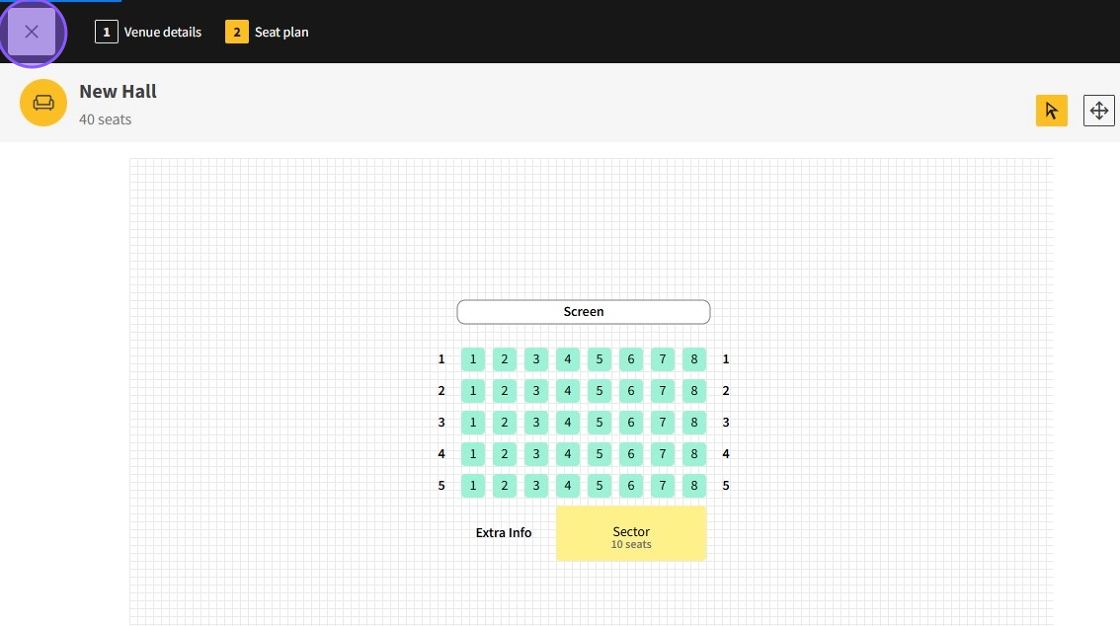
- When the entire plan is complete, click Save.

28.To exit the venue plan editor, click the X button at the top left.
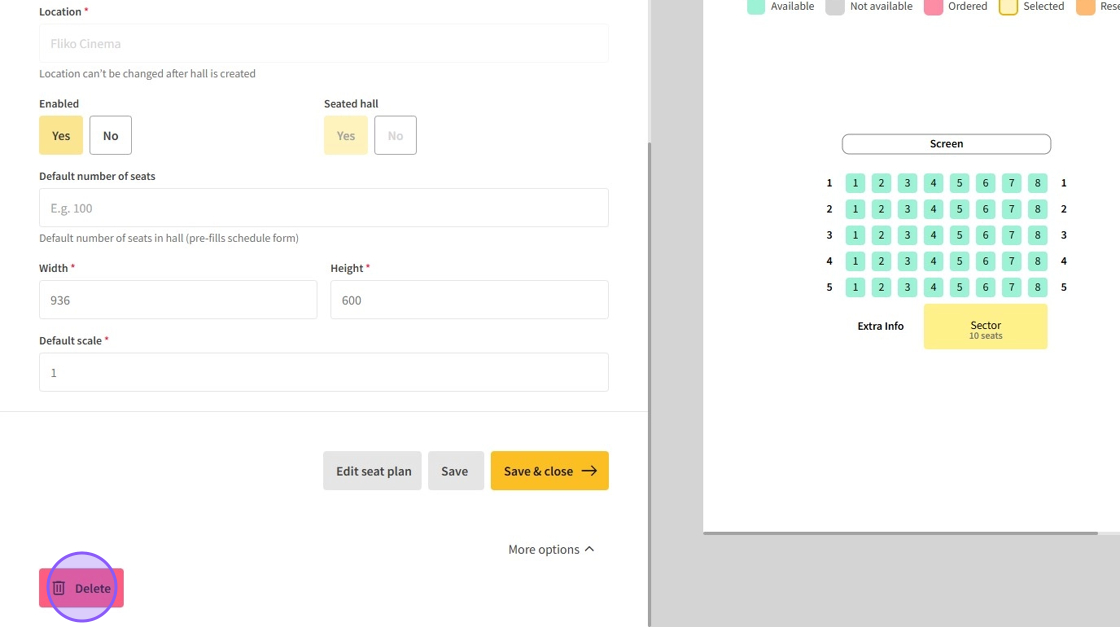
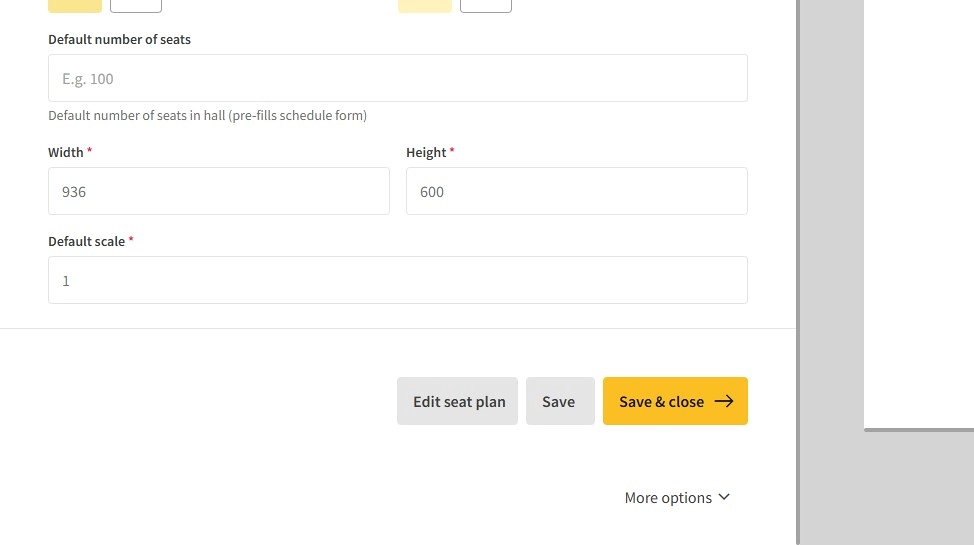
29.Additional settings for seated halls include width, height, and zoom scale for POS and website views.
- After changes, click Save or Save & close.
- To edit the seat plan again, click Edit seat plan.
- To exit without saving, click the X at the top left.
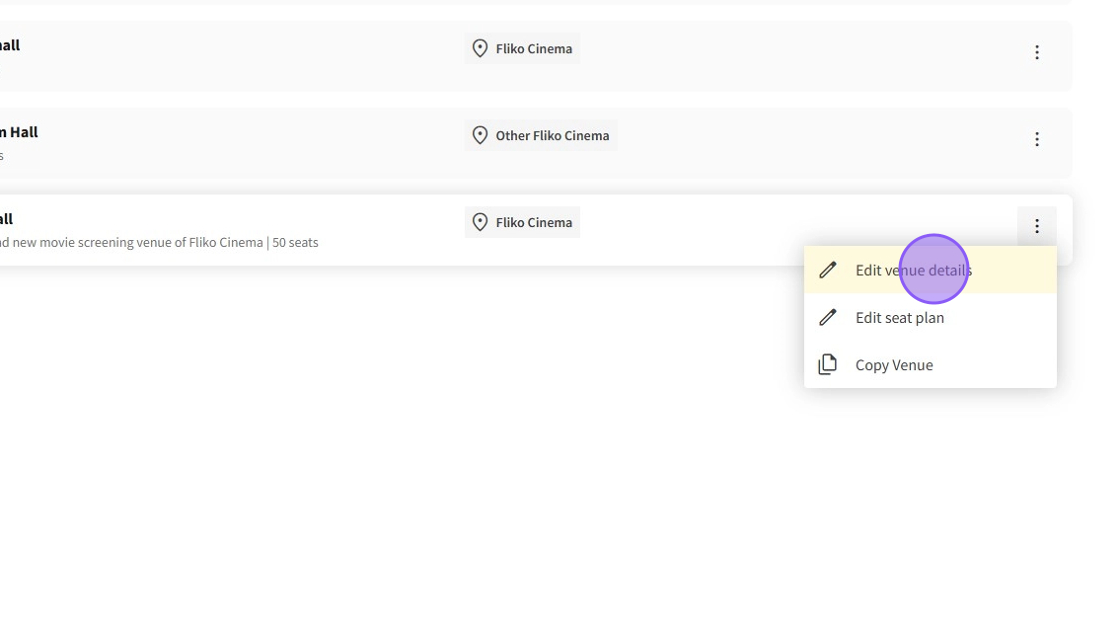
30.On the Venue page, click the ⋮ button for additional venue options.
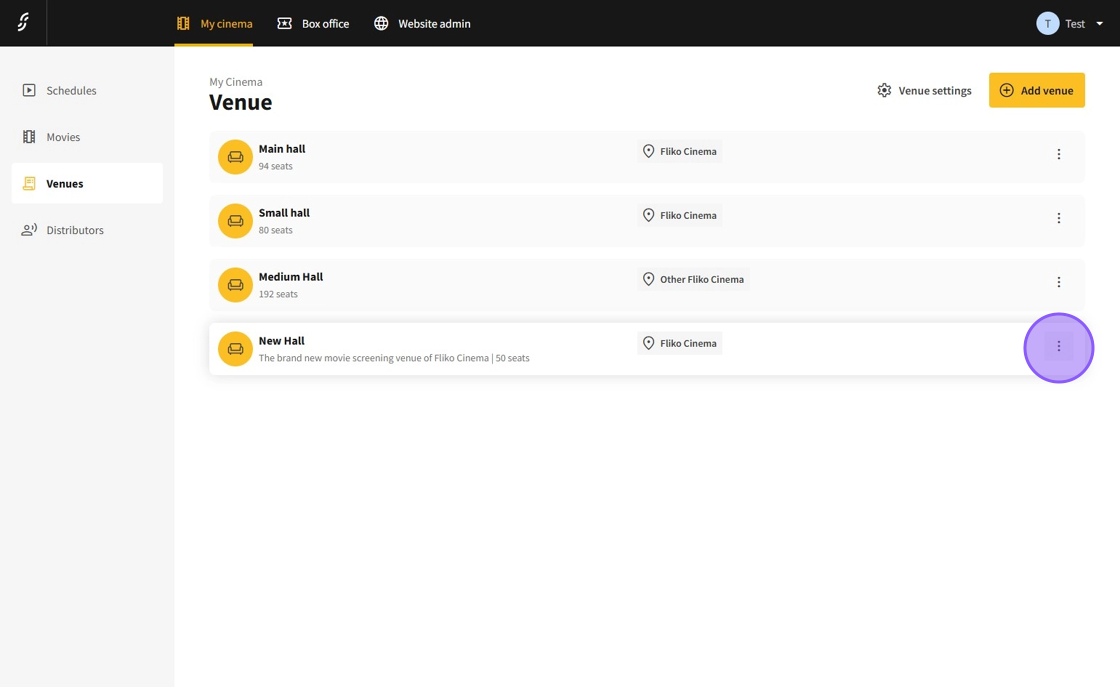
31.Options include editing venue details, jumping directly to seat plan editing, or copying the entire venue.
32.To delete a venue, edit its details, scroll to the bottom, select More options > Delete.