1.In the Dashboard, navigate to My cinema.
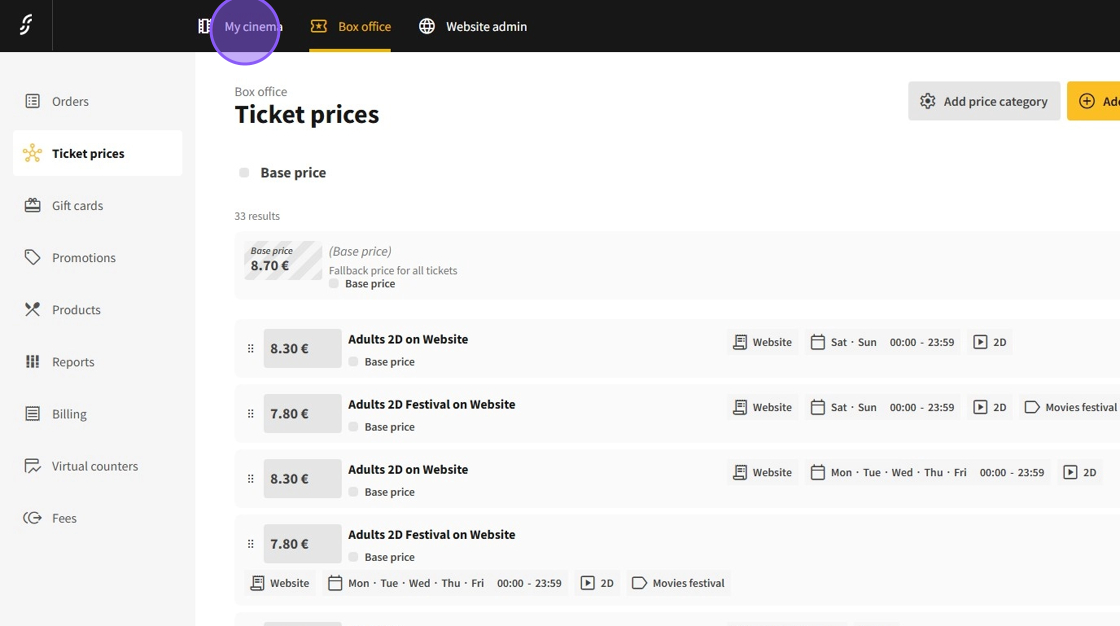
2.Select Schedules.
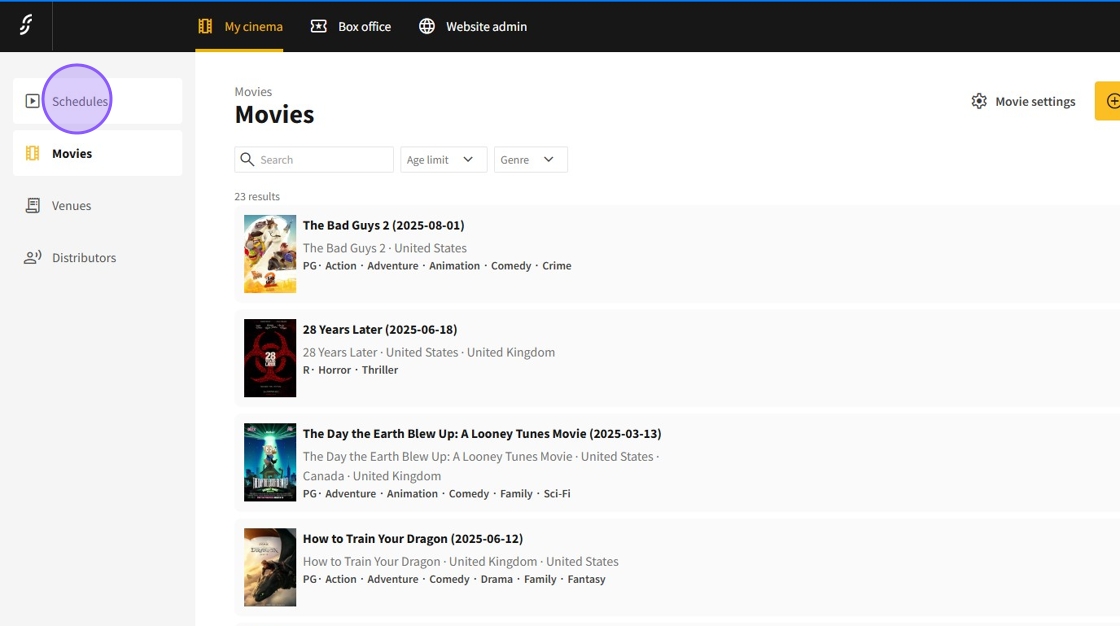
3.Click on Add event to start adding new screenings.

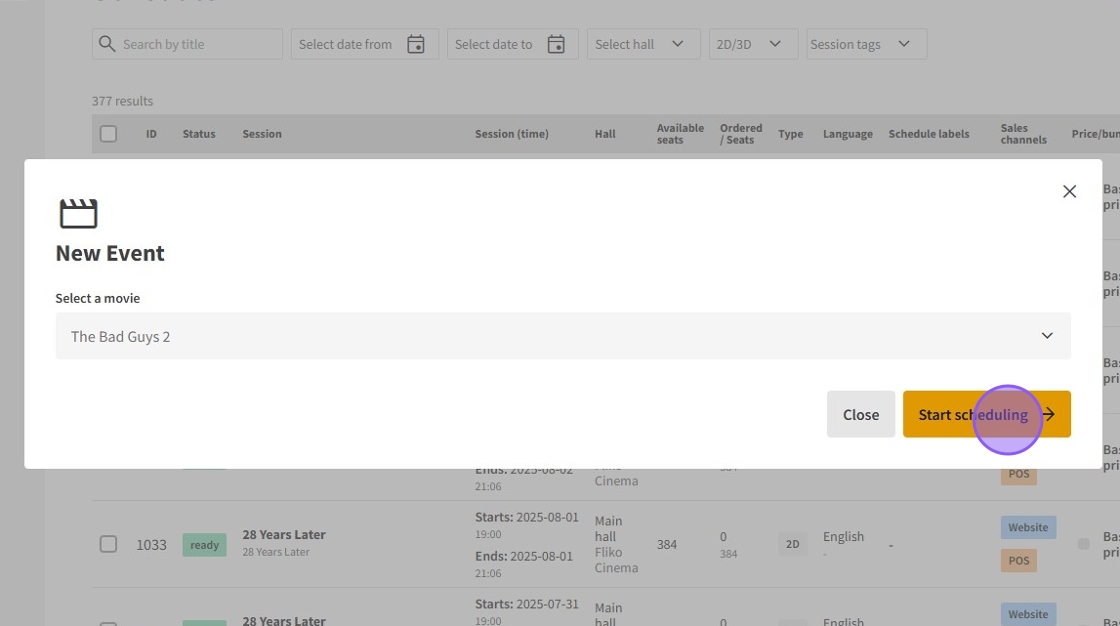
4.Select the desired movie.

Important: You can only schedule movies that were previously added.
5.Upon selection, click on Start scheduling.
6.On the Schedule showtimes page, configure the following for the screenings:
Select the venue for the screenings.
Choose the sales channels where customers can buy tickets.
Select the pricing type: either predefined price rules (with category and bundle category) or a fixed price.
Choose the screening type (2D or 3D).
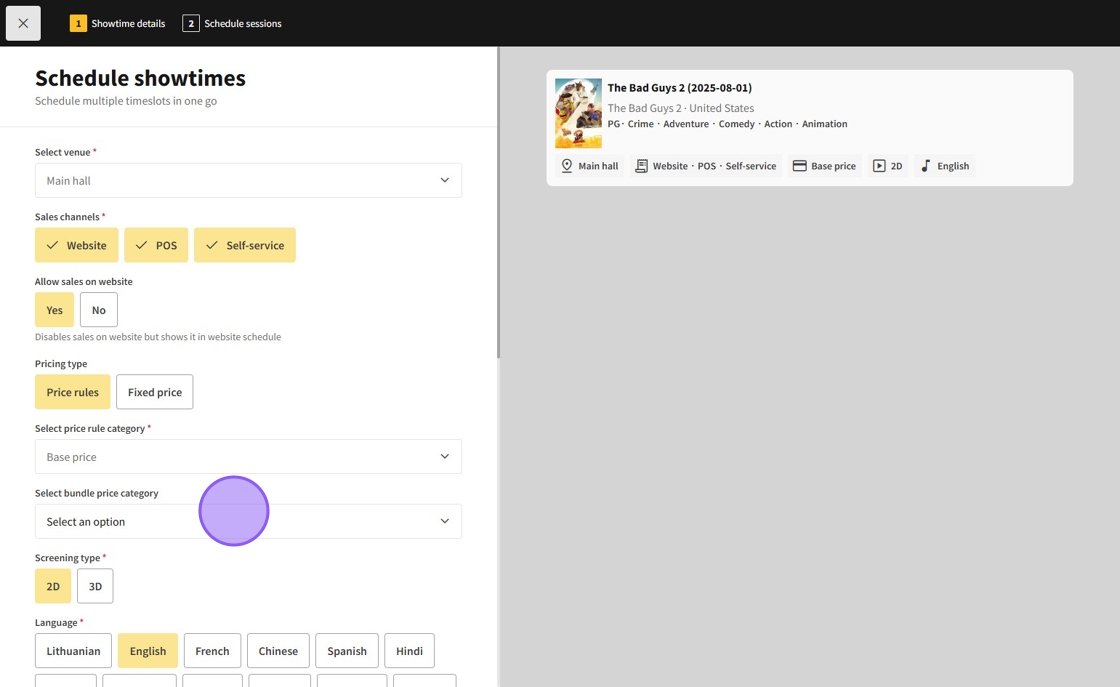
7.- Set the movie’s language and subtitle language.
- Indicate if the movie is dubbed.
- Add showtime labels that are displayed to customers and can be used for price rules.
- Set preorder dates if the screening is outside the general weekly listing on the website.

8.After filling in the screening details, click Continue.

9.Add time groups for the screenings, specifying the days and dates shown. You can add multiple time groups.
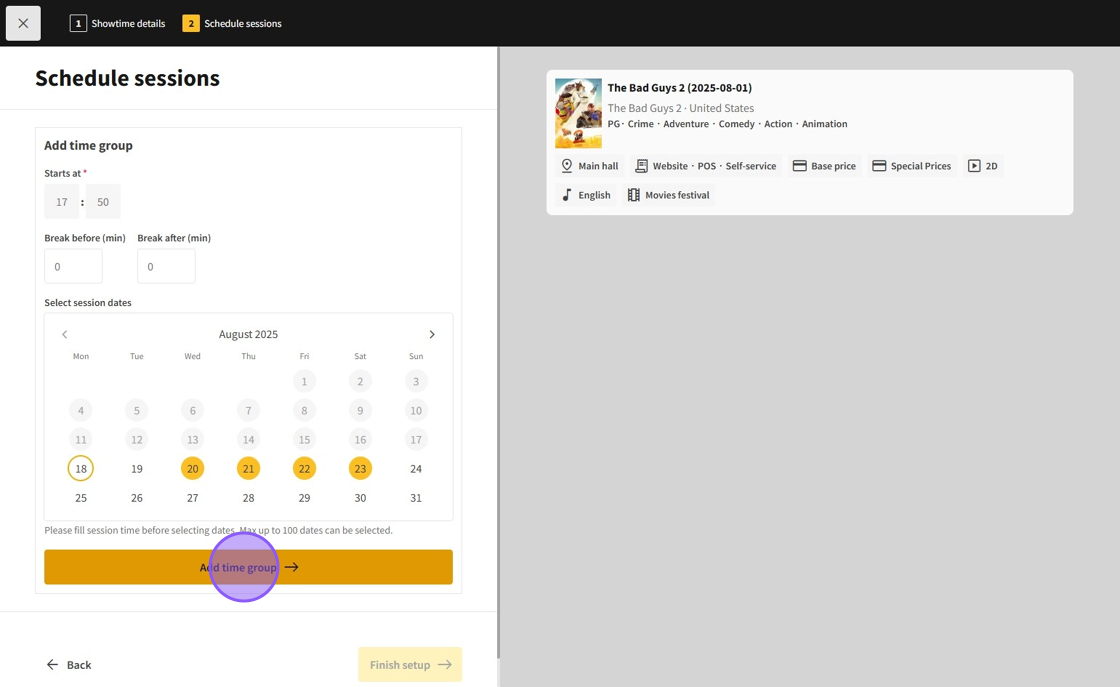
10.Once time groups are added, they will go live unless they conflict with other screenings.
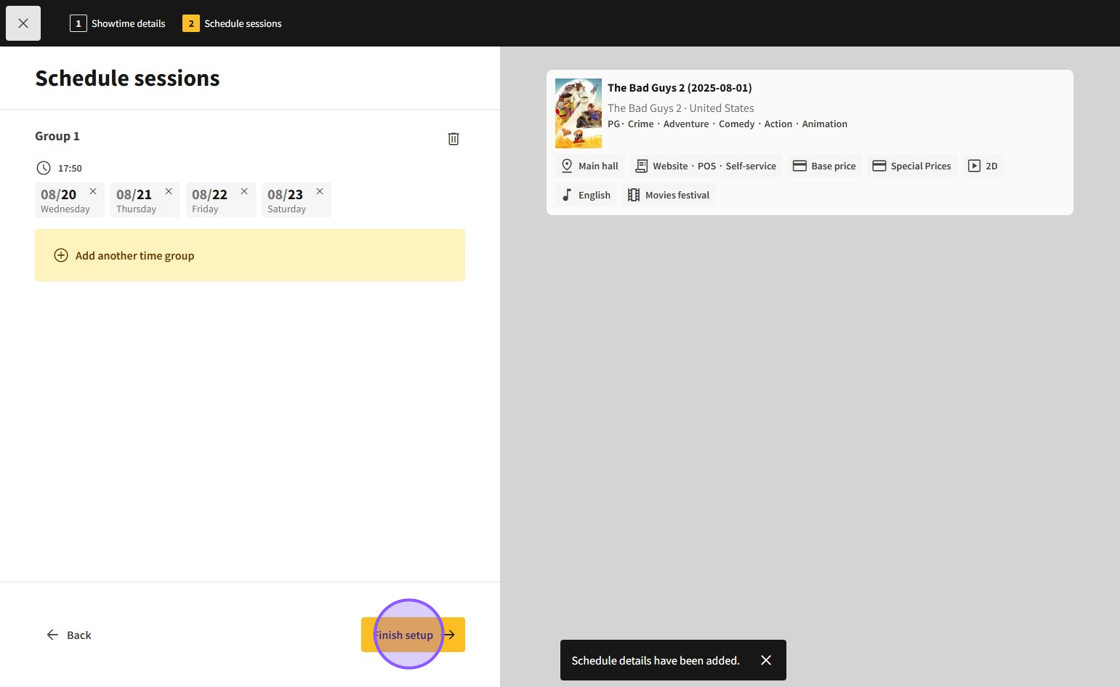
- If conflicts occur, the system will display each conflicting screening as added. (But the ones that aren't conflicting will still be added)
- You can choose to remove individual conflicting screenings or remove the entire time group.
- When done, click Finish setup to return to the scheduling page.
11.Back on the scheduling page, click the ⋮ button to:
- View individual screenings on the site.
- Edit screenings.
- Cancel screenings.
- Delete screenings.
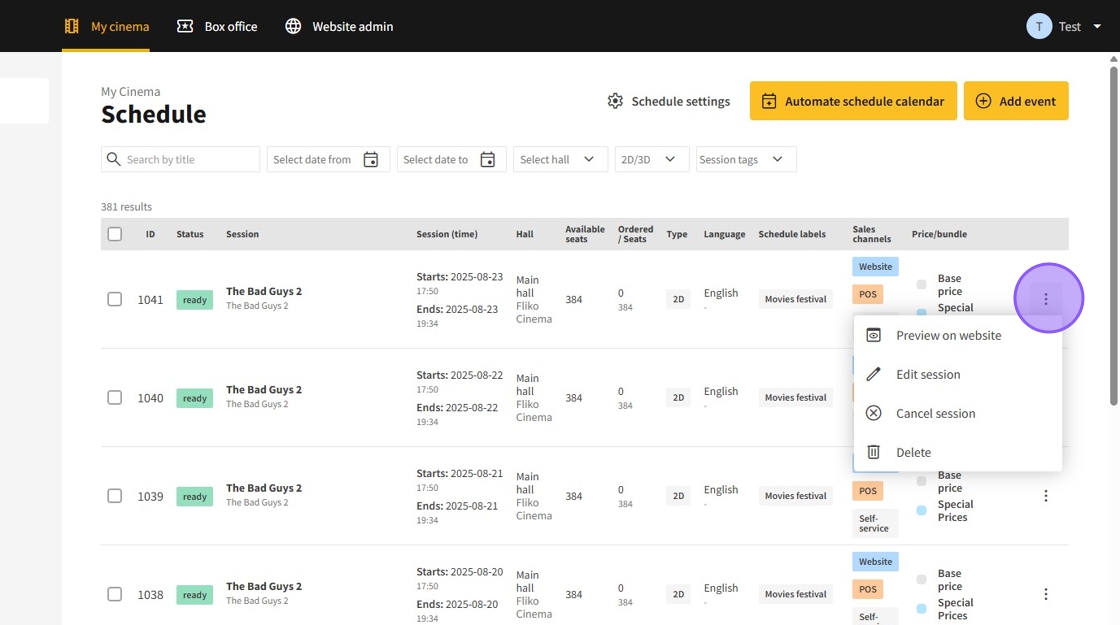
Note: If tickets have already been purchased for a screening, it cannot be deleted, only canceled.