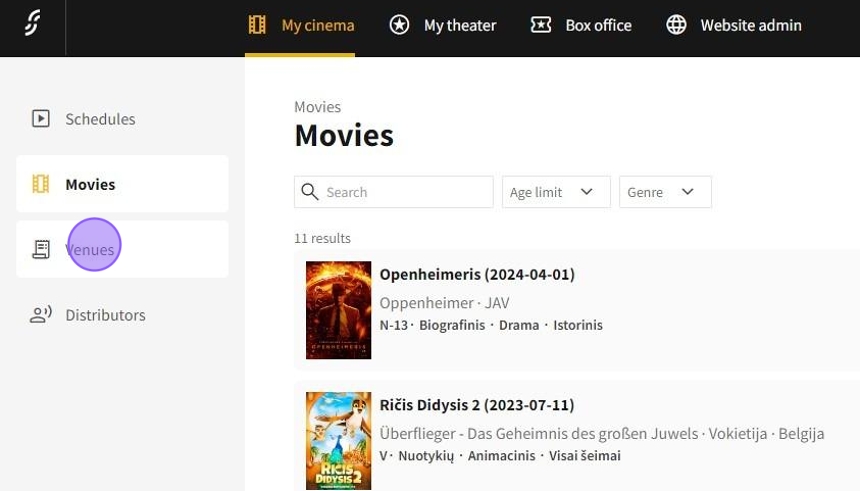
1.Click on My cinema -> Venues to go to the Venues page.
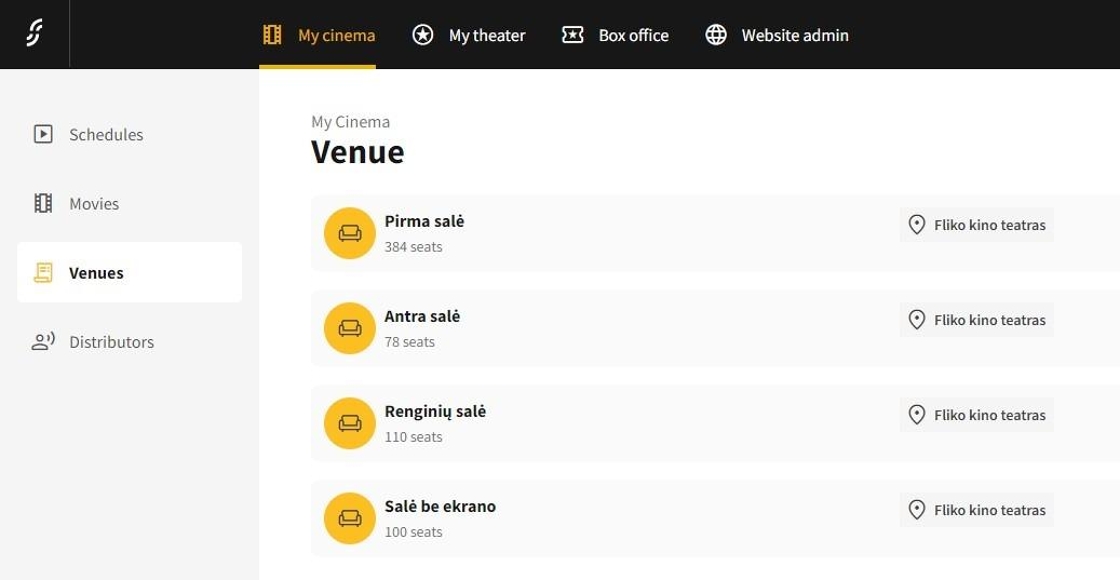
2.On the Venues page, you will find a comprehensive list of all the venues displayed below.
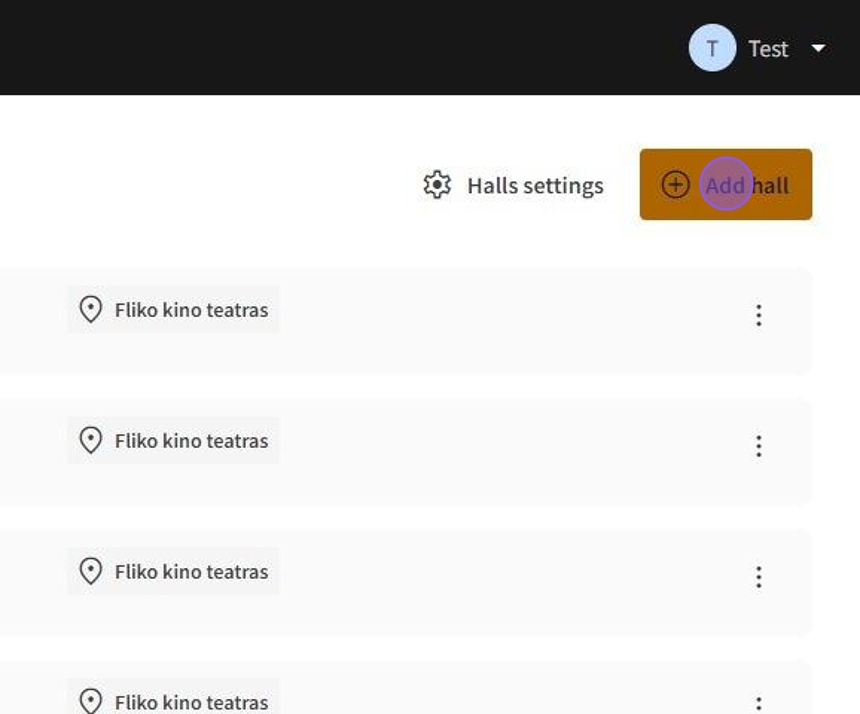
3.To add a new Venue, click on Add hall button.
4.- Hall name: This setting allows you to specify the name of the hall. It serves as an identifier for the venue.
Location: This setting enables the selection of a specific location for the hall.
Enabled: The enabled toggle allows you to activate or deactivate the hall's availability. When this setting is turned on, the hall can be used for events; when off, it is not available for use.
Seated hall: This toggle indicates whether the hall is configured for seated events. When enabled, it signifies that the hall is set up with seating arrangements for guests.
5.- Number of rows: This setting allows you to define the total count of rows available in the seating layout.
Number of seats in a row: This setting specifies how many individual seats will be present in each row. This is important for creating an accurate representation of the seating capacity.
Show rows: In this feature, you have the ability to control the visibility of row numbers within the seating arrangement.
Stage with screen: This option allows you to indicate whether the stage includes a screen.
Row marking format: You can choose from various marking formats that will be used to denote each row.
Row order in the hall: Defines the arrangement of rows, which can be set to either highest-lowest or lowest-highest.
Seat marking format: Similar to row marking, this setting lets you choose how each seat is identified.
Seat order in the row: This setting specifies how seats are organized within each row. The order can follow a left-to-right, right-to-left.
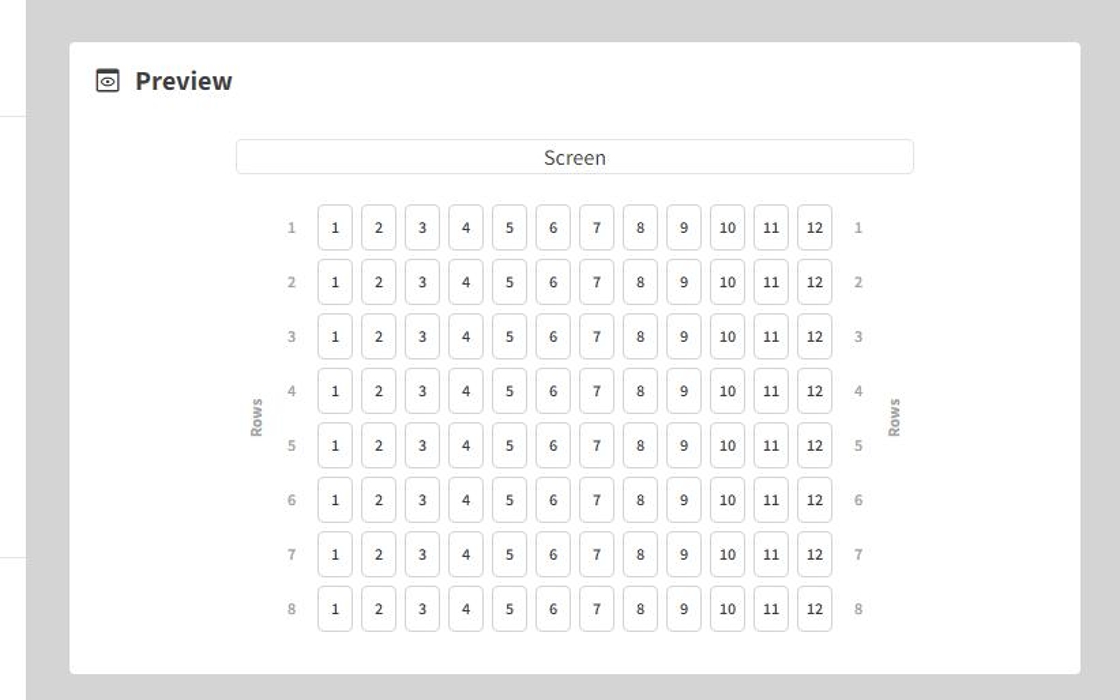
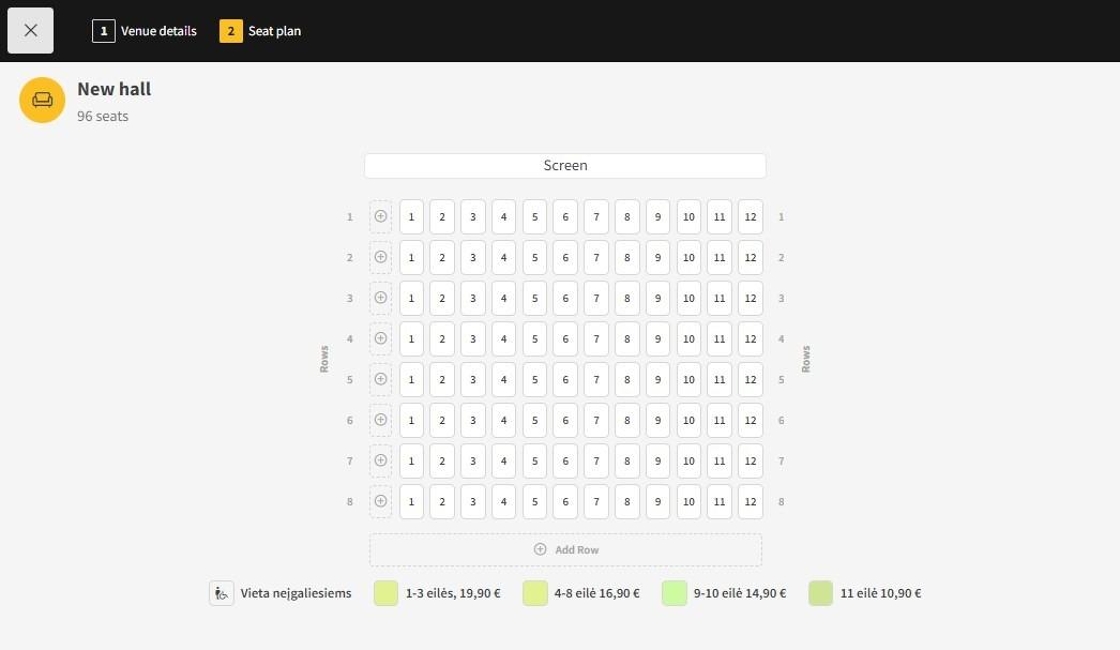
6.On the right side of the same page, the seating arrangement is displayed according to the selected settings.
7.After you have completed the venue details, click on Add Hall to continue to the next step.
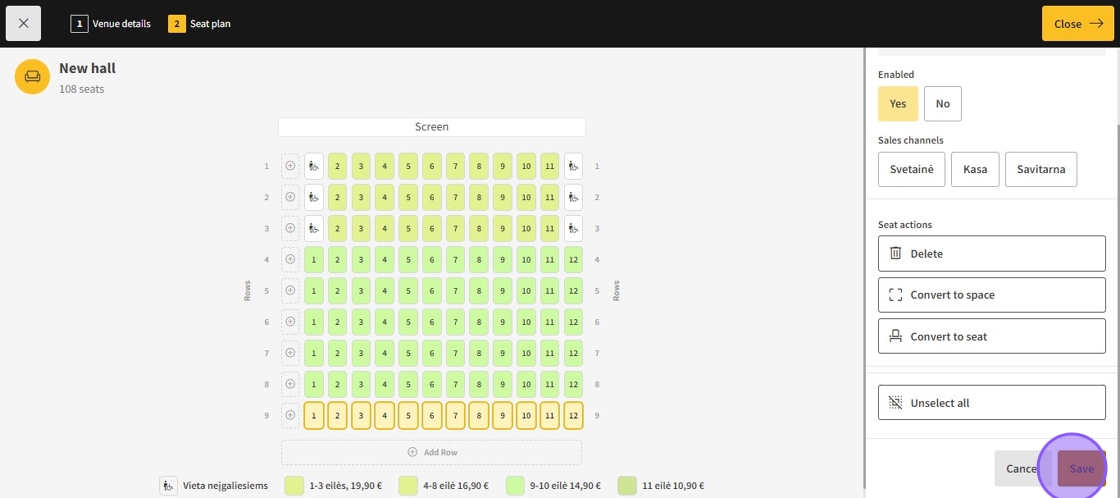
8.On the seating arrangement page, you can customize individual seat settings.
9.The various settings for the seats include:
Seat plan: Choose the designated seat plan from the available options
Enabled: Use the toggle switch to enable or disable the selected seat.
Sales channels: Select the appropriate sales channels for your seat.
Seat actions:
Delete: Remove the selected seat from the plan.
Convert to space: Change the selected seat to an empty space.
Convert to seat: Change an empty space back to a seat.
Unselect all: Quickly deselect all seats if needed.
Save: Ensure to save your changes to apply the updated settings.
10.After finishing creating the seating plan, click Close to save the changes and exit.
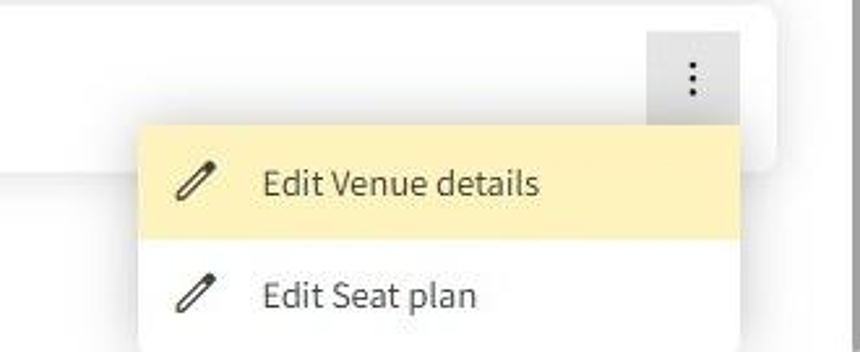
11.- Click on the "⋮" button located on the right side of the movie to open a menu with the following options:
Edit Venue details: Opens the main venue detail editor.