Creating a Popup
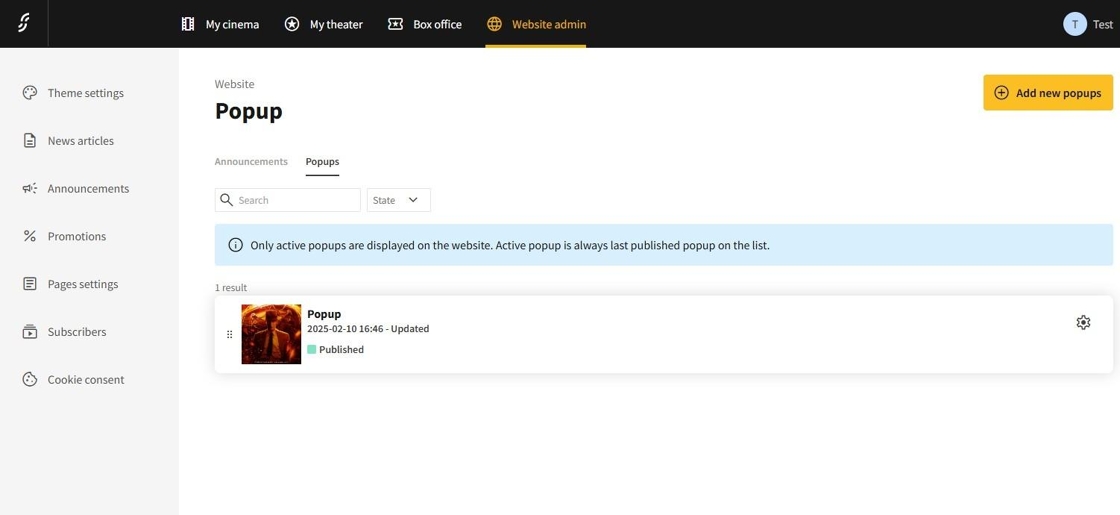
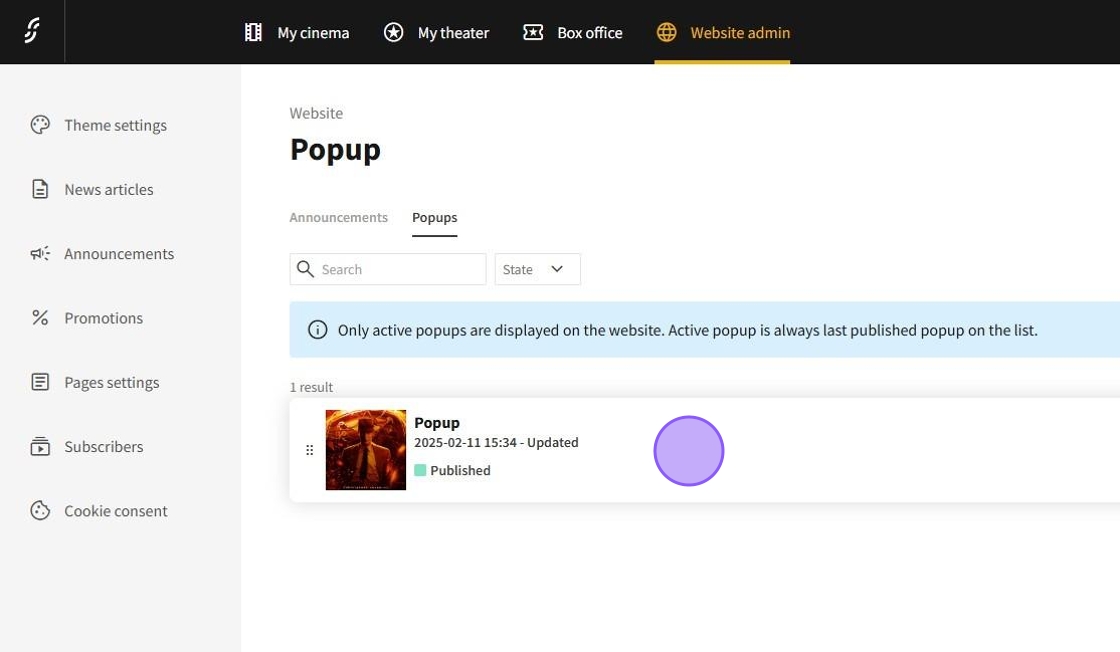
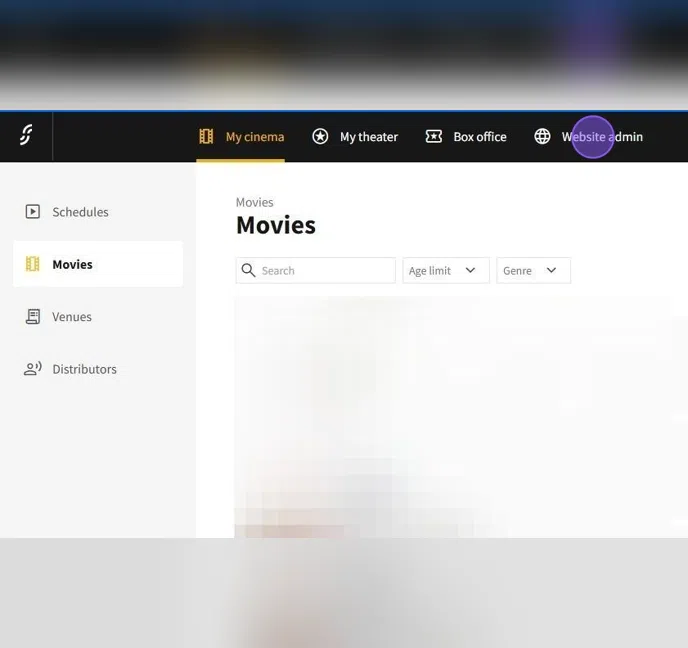
1.In the dashboard, navigate to Website admin → Announcements → Popups to access the Popups page.

2.To create a new Popup, click on Add popup.

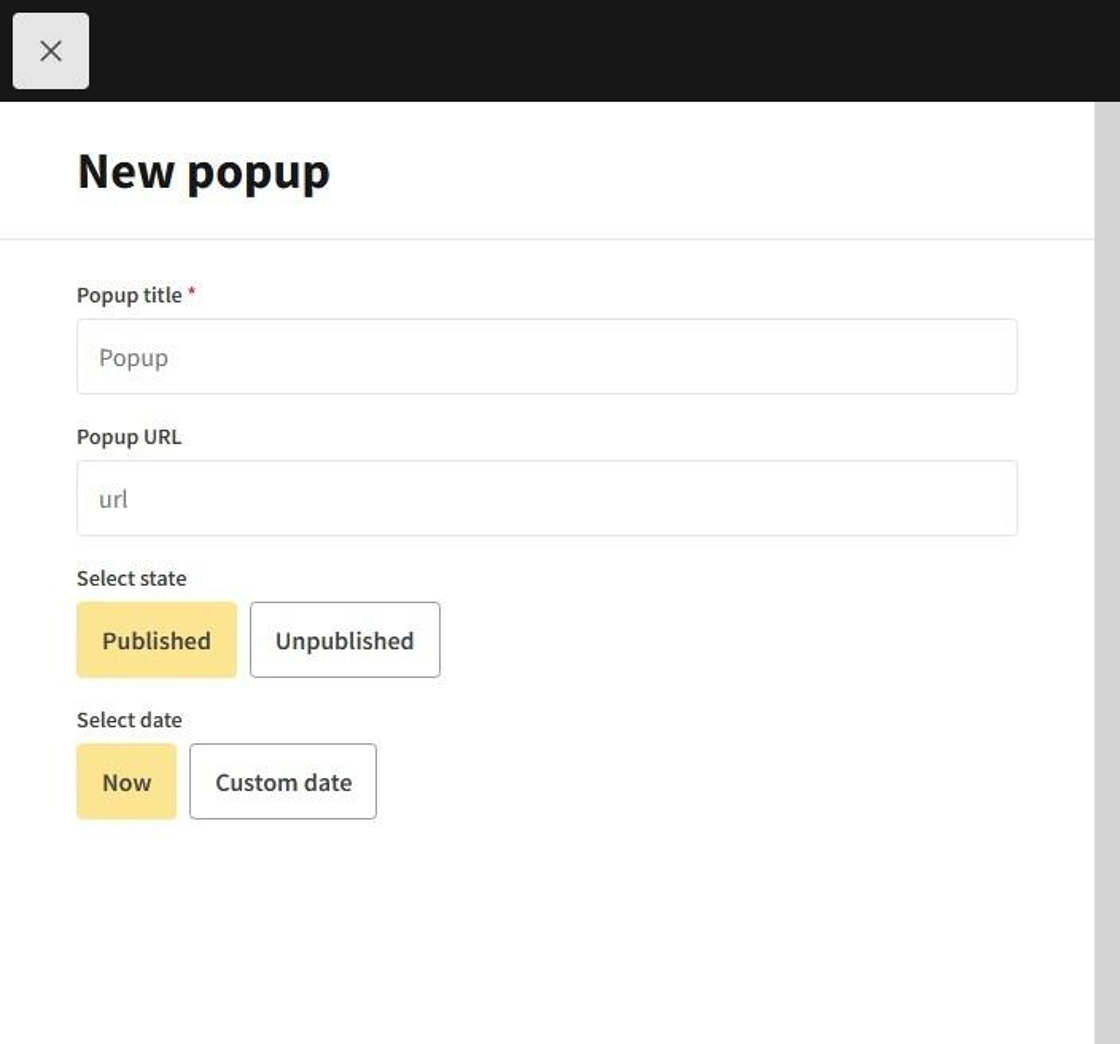
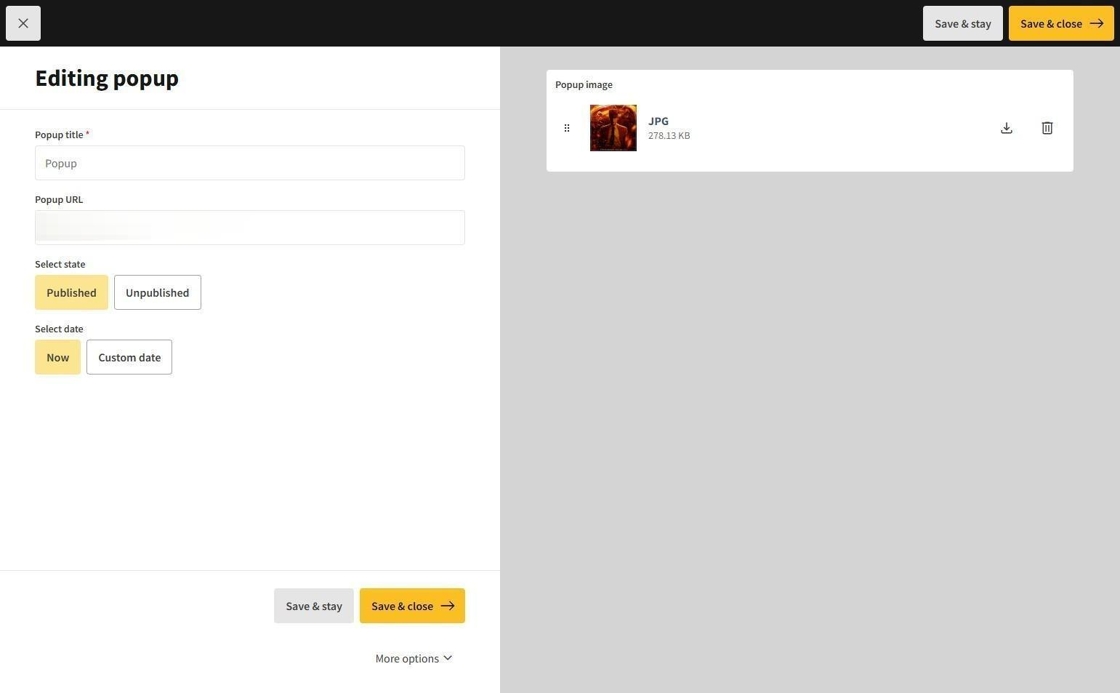
3.This is the Popup settings page
4.On the popup settings page, you will find the following options:
Popup title: Sets the name of the Popup.
Popup URL: Defines the URL to which the Popup directs users upon clicking.
Select state: Determines whether the Popup is published.
Select date: Specifies the dates on which the Popup will appear automatically.
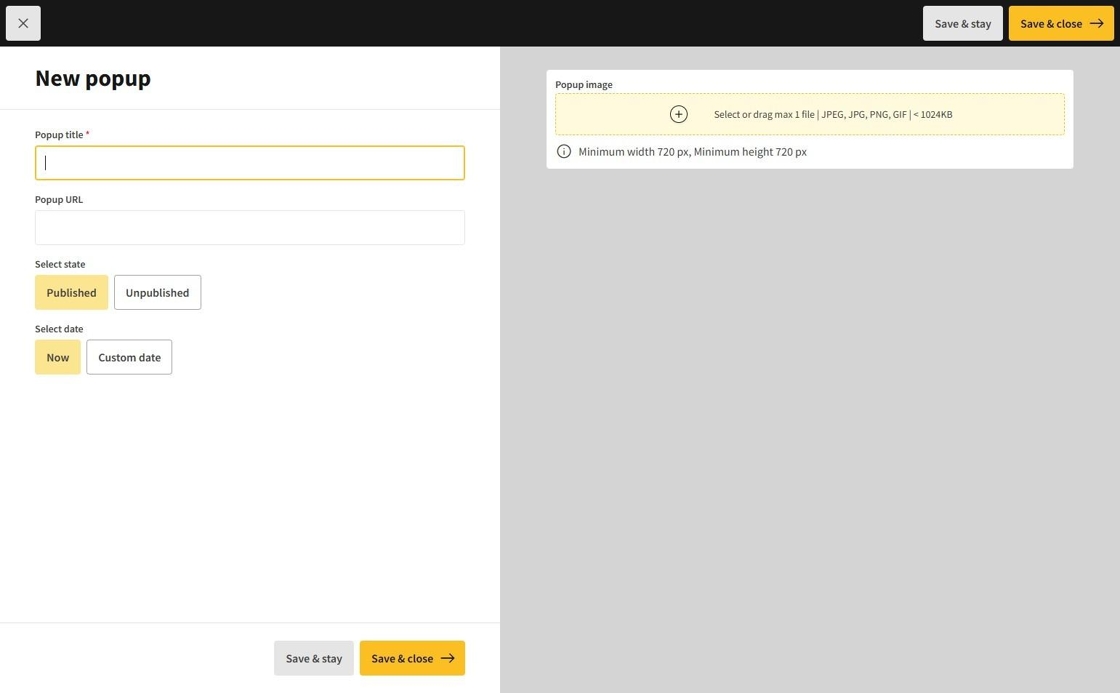
5.To add an image, click on Popup image (note: you can upload a maximum of 1 file in JPEG, JPG, PNG, or GIF format, with a size of less than 1024KB and a minimum dimension of 720px in width and height).

Tip: The recommended aspect ratio for the Popup image is 1:1.
6.Once you have entered all the popup details, click on Save & close to create the Popup.

7.It will be displayed on the homepage if it is the bottommost published Popup in the list.
8.
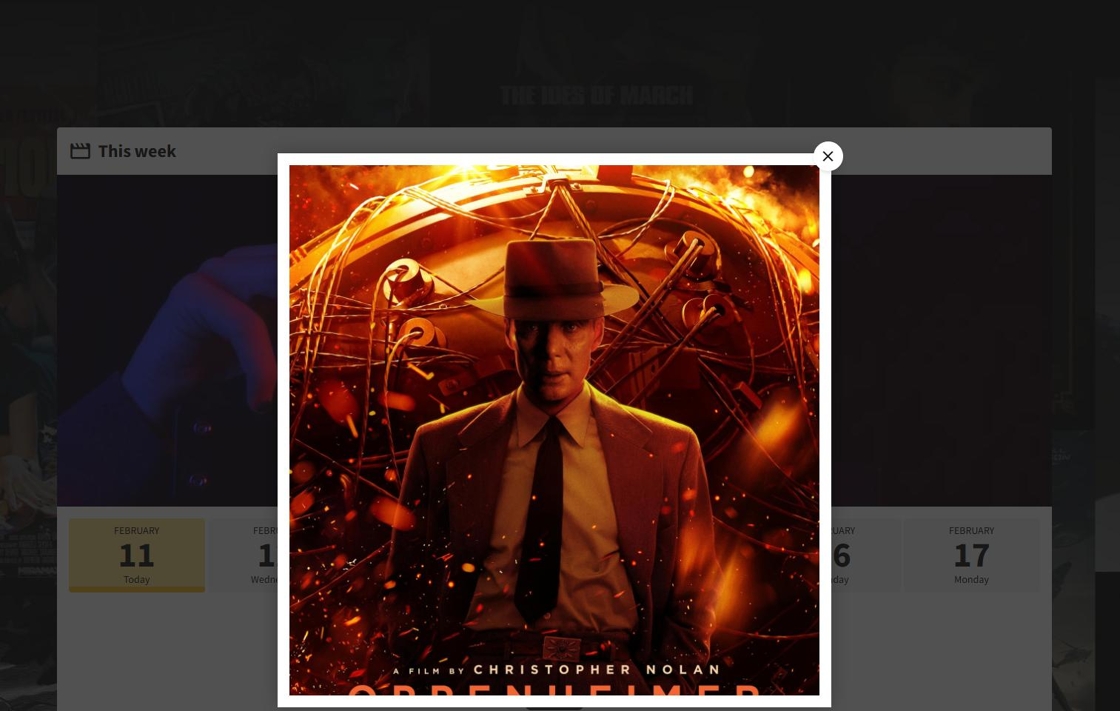
Tip: Only the bottom popup in the list is displayed. To change the displayed Popup, simply drag and drop an active Popup to the bottom of the list.
Editing a Popup
1.To edit a popup, go to the dashboard and navigate to Website admin → Announcements → Popups to access the Popups page.

2.Next, click on the popup you wish to edit.
3.On the popup page, you can adjust the popup's settings as needed.
Deleting a Popup
1.To delete a popup, start by going to the dashboard and navigating to Website admin → Announcements → Popups to access the Popups page.
2.Select the popup you want to delete.

3.Then, click on More options.

4.Choose Delete.
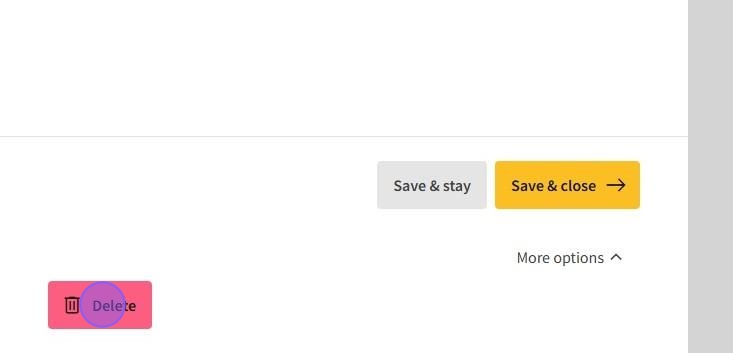
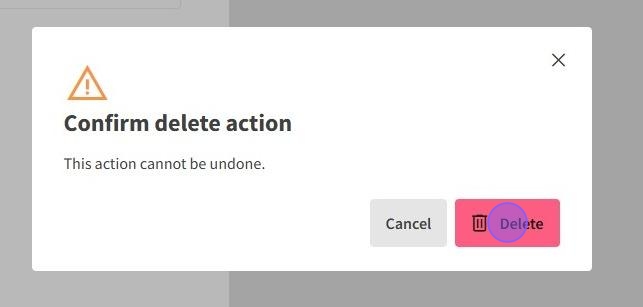
5.and finally click on Delete again to confirm the removal of the popup.